
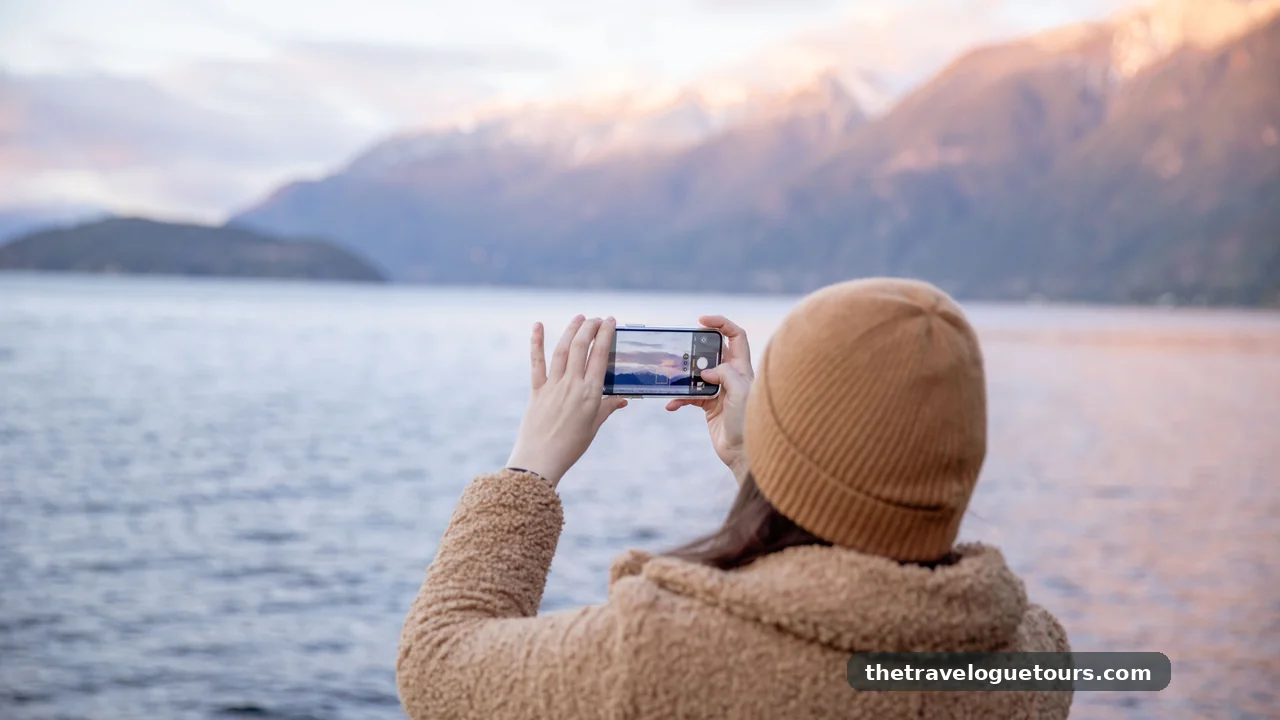
How to Take Travel Photos That Feel Real
Your travel photos look flat while your friends’ shots glow. These practical phone photography tips fix that, with zero gear lectures attached.
Your Phone Is Not the Problem
You know the sting. You get home from a trip, open your camera roll next to your friend’s, and theirs glows while yours looks like flat postcards from a trip you barely remember.
Here is the good news. The gap is not your phone, it is a handful of small choices about light, timing, and where you stand. None of them cost money, and all of them work on the phone already in your pocket.
This guide skips the gear lecture completely. You will get practical techniques you can try on your very next walk, and your photos will start to feel like the moment actually felt.
Your phone handles nearly every travel situation beautifully, so trust it for now. If you ever want a dedicated camera anyway, our guide to the best travel cameras for beginners keeps the choice simple and confusion free.
Chase the Light, Not the Landmark
Almost every flat photo is a light problem, not a camera problem. Harsh midday sun washes out color and stamps hard shadows across faces, which is why your noon shots look tired no matter how pretty the place was.
The fix is mostly timing. Shoot in the 1st hour after sunrise and the last hour before sunset, when the light turns warm and low and hands every scene a free upgrade.
When you must shoot at midday, step into open shade. A doorway, a market awning, or the shadow side of a building gives you soft and even light that flatters both people and plates of food.
In dramatic light, expose for the brightest part of the scene. Tap the brightest area on your screen, then slide the exposure down a touch, and you will keep the sky’s color instead of blowing it out to white. Working photographers teach this habit constantly, and the B&H Explora photography tips library has clear walkthroughs if you want to practice it.
Do not curse cloudy days. Overcast skies are nature’s softbox, and colors actually pop without harsh shadows, which makes markets and forests look richer than they do in bright sun.
Stay out a little past sunset for blue hour, when the sky turns deep blue and city lights flicker on. A pocket tripod or a steady railing lets your phone soak up that glow, and it earns a spot on our travel essentials you should never forget list for exactly this reason.
Compose Before You Tap
Most disappointing photos were taken in a hurry. Before you tap the shutter, pause for 3 seconds and ask what the photo is actually about, then remove everything that is not that. If 3 things compete for attention in a scene, remove 2 before you tap, since the photo can only be about 1 thing.
Turn on your phone’s grid and place your subject off center. This simple rule of thirds habit beats centering almost every time, and it takes zero extra effort once it becomes automatic.
Add something in the foreground. A branch, a doorway, or a market stall in front of your subject creates depth, and depth is what makes a flat image suddenly feel 3 dimensional. If you want to study framing properly, the Adorama Learning Center has free guides that go far deeper than 1 article can.
Follow the lines. Roads, rivers, and railings pull the viewer’s eye straight to your subject, and once you start noticing them you will see them everywhere.
Change your height. Kneel for a child’s eye view, or hold the phone high for a cleaner background, because almost everyone shoots from standing eye level and that is why so many travel photos look the same.
Get Closer Than You Think
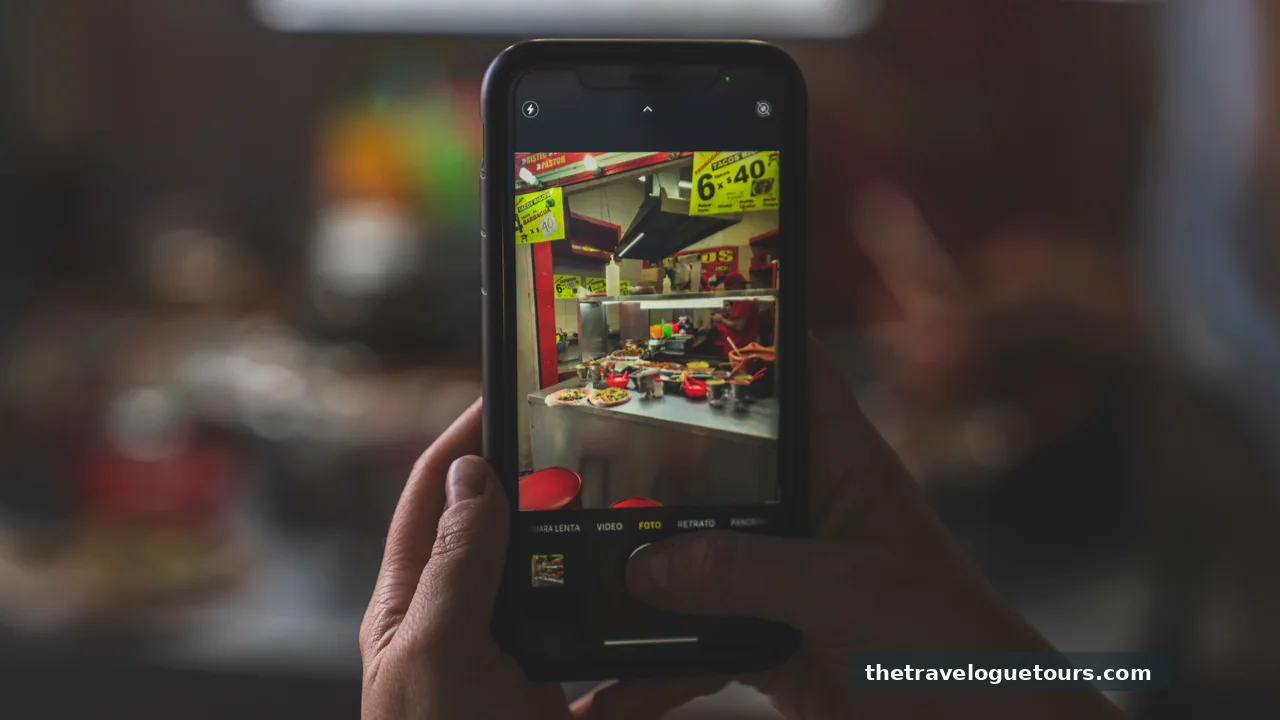
Wide shots of famous places all look alike. The photos that feel personal are the close ones, the steam rising off noodles, the texture of a woven blanket, the chipped paint on a blue door.
Food is the easiest place to start. Get close, shoot from a slight angle instead of straight down, and include a hand or a cup for scale so the image feels like a meal someone is about to eat.
Shoot through things. Framing a scene past hanging lanterns or between market stalls adds layers that make the viewer feel like they are peeking into a real moment.
Details are also your memory anchors. Years later, the close shot of a market spice pile will bring the whole morning back faster than another wide shot of the square ever could.
Put People in the Frame
Empty landscapes are pretty, but people make photos feel alive. A fisherman mending nets or a kid chasing pigeons gives the viewer someone to travel with inside the image.
You do not need posed portraits. Capture people doing ordinary things, and your photos will carry the rhythm of daily life instead of just its scenery. Slow down and watch for a while, the way our guide on how to experience Japan like a local suggests, because the best frames reveal themselves to patient eyes.
For close portraits of strangers, smile and gesture to your camera first. A nod means yes, a turned shoulder means no, and respecting the no will keep your conscience as clean as your composition.
Include yourself sometimes. Hand your phone to a friendly stranger or prop it on a wall with the timer, because years from now you will want proof that you were actually there.
Edit Lightly, Then Stop
Every good travel photo gets a small edit. Straighten the horizon, lift the shadows slightly, and add just enough warmth to match what your eyes actually saw.
Then stop. Heavy filters and overcooked saturation are the fastest way to make a real moment look fake, and your future self will thank you for the restraint.
Edit on your phone with whatever free app you like, and compare against the original often. If you cannot tell what changed, you have probably edited just enough.
Delete ruthlessly. Keeping only your 10 best shots from a day trains your eye faster than any tutorial, and a tight camera roll is more fun to revisit.
Travel Photo FAQ
Why do my travel photos look flat even on a good phone?
Because flat light and rushed timing flatten everything. Midday sun washes out color, shooting from standing height looks generic, and tapping the shutter without checking exposure lets the phone guess wrong. Fix the light and slow down, and the same phone produces richer images.
What is the best time of day to take travel photos?
The hour after sunrise and the hour before sunset, often called golden hour. The light is warm, soft, and low, which adds depth and glow that midday sun cannot give. If you only change 1 habit, make it this one, and if you miss it, shoot in open shade rather than harsh noon sun.
Should I use the rule of thirds for every photo?
Use it as a starting point, not a law. Placing your subject off center usually beats centering it, and your phone’s grid makes it easy. Once it feels natural, break it on purpose for symmetry shots like reflections and architecture.
How do I photograph people while traveling without being rude?
Smile, gesture to your camera, and wait for a nod before shooting close portraits. In markets and busy streets, wider shots of daily life are usually fine, but always respect a clear no. A short friendly exchange often leads to a better and more relaxed photo anyway.
Do I need an expensive camera for great travel photos?
No. Modern phones handle most travel situations beautifully, and the best camera is the one you actually carry everywhere. Spend your energy on light and composition first. Upgrade only when your phone consistently limits a specific kind of shot you love taking.
The light is waiting, the street is busy, and your phone is already in your pocket: shoot the feeling, not just the sight. Try 1 idea tomorrow morning, then another at sunset. Your camera roll is about to feel a lot more like your trip did.


6 Comments